Showing posts with label Candle Holder. Show all posts

Tuesday, February 24, 2015

DIY Coffee Mug Candles by Glitter

Do you ever have those tea light candles just laying around your house, with no candle holders? Well here is something really cute you can try at home with things around your house! These mugs, tea lights and coffee beans cost me a total of $0, because I had everything in my house! However, if you were need to go out and buy the supplies it will cost you under $10.

What you need:
Mugs
Tea Lights
Coffee Beans


Step 1: Make sure you wash your bowls/cups out, set them down and either air dry or towel dry.

Step 2: Pour your coffee beans into each bowl/cup. I just eye-bawled the measurement and levelled them out.

Step 3: Then just put your tea lights in the coffee beans. As you light each candle, the aroma of the coffee beans will come through and smell amazing! If you wanted to try something a little bit different, with a different scent you can always get the flavoured coffee, and try flavours such as vanilla or hazelnut to give a different aroma!

This very simple DIY gives a personal touch to every home, and fills it with a beautiful scent! It only took a few minutes to do, but will last quite a while! So try this DIY, send in your pictures of how you placed your coffee bean candles around your home and comment below! 

Something else you can try, you can combine both of our blogs from this week and make the marble design on each coffee mug and pour in your coffee beans and tea candles in to add a little more fun and dynamic to both DIY'S!


Monday, January 26, 2015

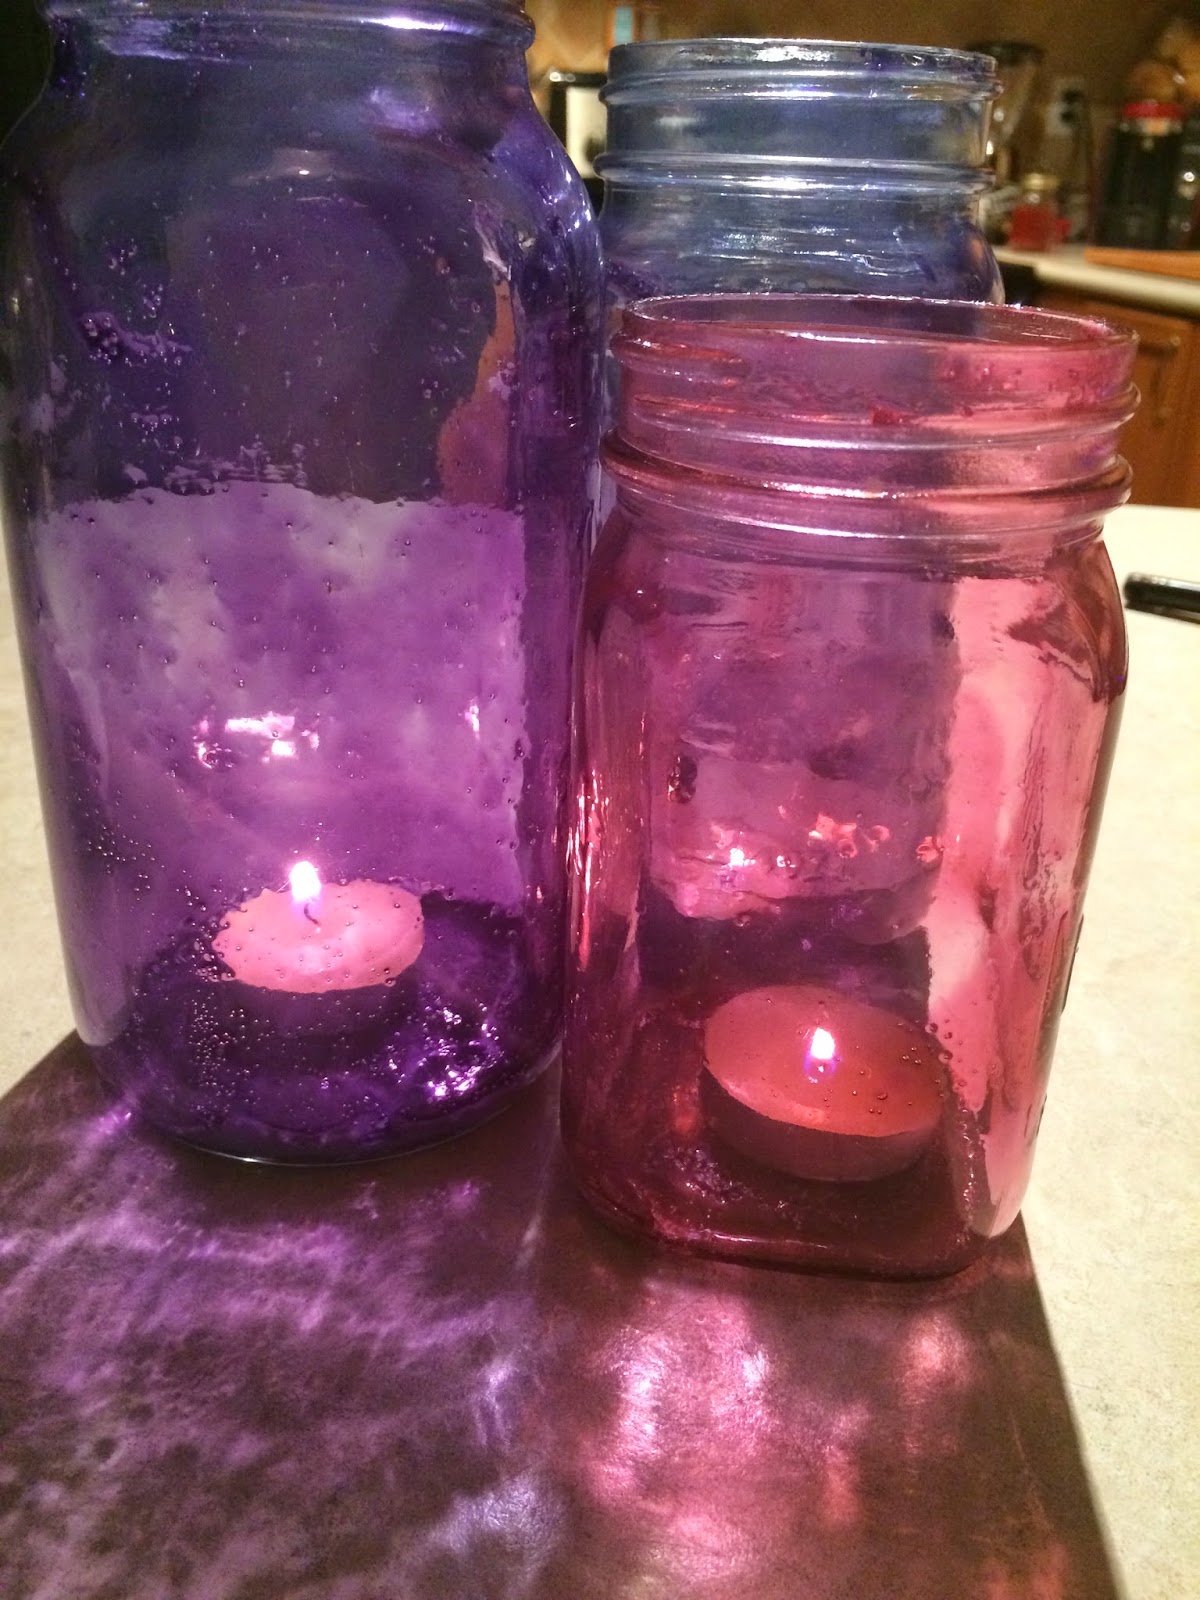
Tinting Your Mason Jars for a Candle Holder DIY by Glitter

What you need:

  • Wax Paper
  • Paper Towel
  • Baking Pan
  • Food Colouring
  • Mason Jars
  • Mod Podge
  • Candles
  • Oven
  • Straw or Stirring Stick
  • Disposable Plastic Cups


This DIY is very simple and cheap that will make some cute candle holders for your outdoor or indoor decor! First get all your materials together. Most of these materials you can find within your home just like I did. Only thing I needed to buy was the Mod Podge which was $8.97 for an 8 oz jar at Wal Mart. For things you may not have such as the mason jars, you can buy a 6 pack at Wal Mart for $12. I used different sizes to give a little more of a dynamic effect! Next, it is time to mix your colours. I used different hues of purples to match my decor, but you can use any colours your little heart desires! Your going to take your mod podge and pour it into the disposable plastic cup and add some food colouring to it, don't be afraid to get creative! If you decide to use different colours completely, use different cups for each colour so your colours don't mix. Then take your straw and stir away to make sure it is completely mixed together. Now you pour your mixture into the first mason jar and start turning the jar to allow the mixture to roll through the entire jar. Once all the inside of the mason jar is covered by the mixture, carefully turn it upside down to place it on your baking pan with the paper towel laid down first, then the wax paper. Repeat all the above steps to as many mason jars you would like. You can either change the colour of each mason jar or keep the same colour, depending on what you prefer! After all your mason jars are coloured, and turned over onto the baking sheet, let the jars sit for one hour for it to set. After the hour has passed, turn the jars right side up on a new clean piece of wax paper, set your oven to 225 °Fand put the jars in there for 45 minutes. Once the jars are finished baking, carefully take out the pan out of the oven and let them cool throughly, and you can use them right away!
There you have it! Your very own, homemade mason jar candle holders! 
Below are a few time lapsed videos of the process and how they will turn out. Post your comments, and questions below and be sure to follow us on Twitter, Facebook, Instagram, and Pinterest for all of our easy DIYs with videos and pictures. Don't be afraid to share your DIY's with us!